
How to Shoot Travel Videos Like a Professional
Shooting travel videos like a professional doesn’t require Hollywood-level gear or years of film school. With the right mindset, planning, and techniques, anyone can create compelling, cinematic travel content that captures the essence of a destination. Whether you’re documenting a weekend getaway or a month-long backpacking trip, this guide breaks down the essential steps to elevate your footage from amateur clips to polished, shareable stories.
Start with a Clear Vision
Before pressing record, define what your video is about. Are you showcasing local cuisine, hidden hiking trails, or cultural festivals? A clear theme keeps your footage focused and your final edit cohesive. For example, instead of randomly filming every street corner in Paris, center your video around “A Day Eating Through Montmartre.” This gives your audience a narrative thread to follow.
Plan Your Shots in Advance
Professional travel videographers don’t rely on spontaneity alone. They scout locations, check lighting conditions, and plan key shots. Use apps like Sun Surveyor to track golden hour times or Google Earth to preview angles. Create a shot list: wide establishing shots, medium action sequences, and close-ups of details like hands preparing food or textures of architecture.
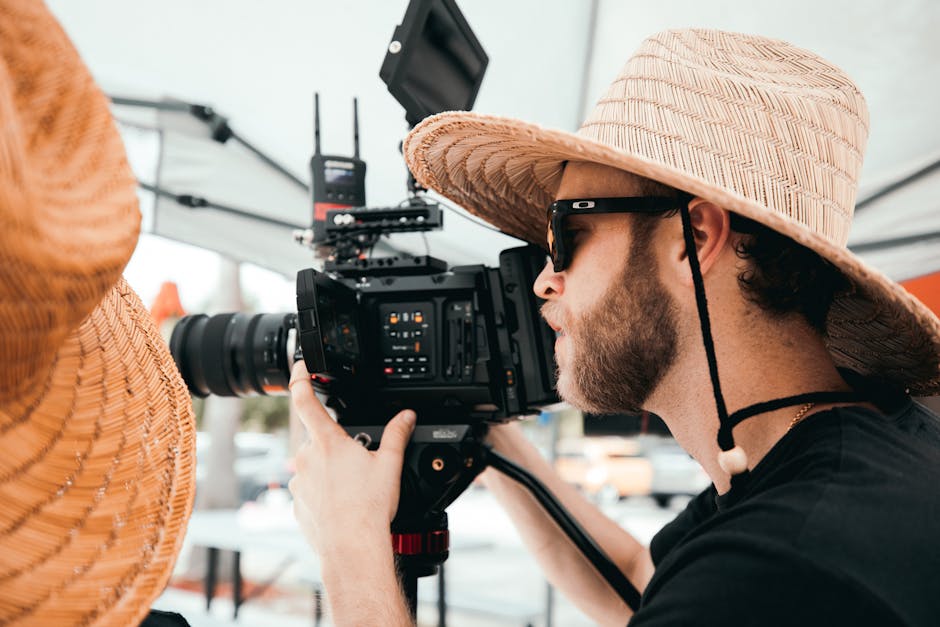
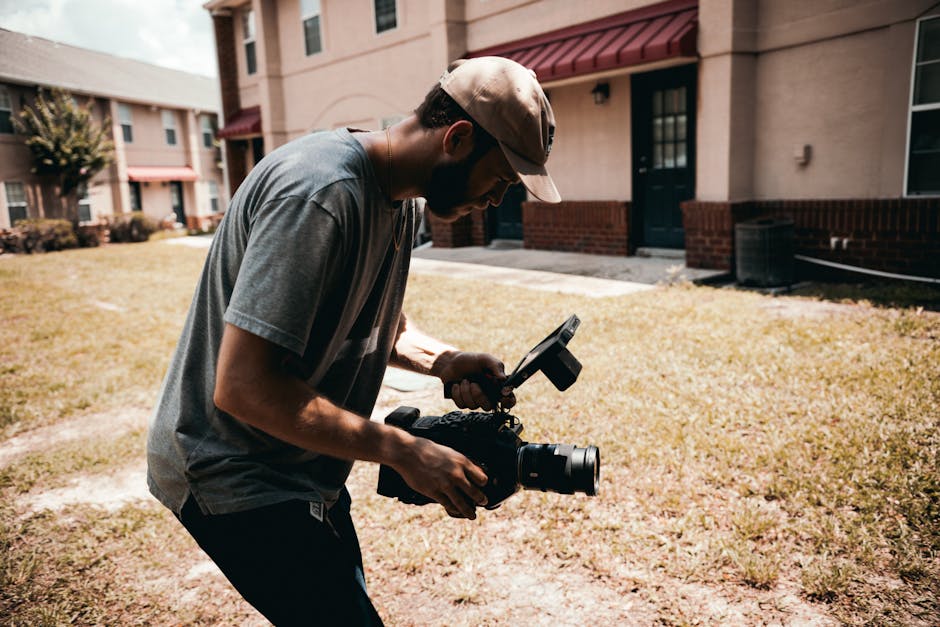
Master Your Equipment
You don’t need the most expensive camera, but understanding your gear is crucial. Most modern smartphones shoot in 4K and offer stabilization features that rival entry-level cameras. If you’re using a mirrorless camera or camcorder, ensure you’re familiar with manual settings like aperture, shutter speed, and ISO.
Stabilization Is Non-Negotiable
Shaky footage distracts viewers and undermines professionalism. Use a gimbal for smooth motion, especially when walking or panning across landscapes. If you don’t have one, brace your elbows against your body or use a small tripod. Even resting your phone on a stack of books can improve stability for static shots.
Audio Matters More Than You Think
Crisp visuals mean little if the audio is muffled or windy. Invest in a compact external microphone—lavalier mics work well for voiceovers, while shotgun mics capture directional sound. Record ambient audio separately (like market chatter or ocean waves) to layer in post-production. Always monitor levels to avoid clipping.
Lighting: Use What’s Available
Natural light is your best friend. Shoot during golden hour—shortly after sunrise or before sunset—for warm, soft illumination. Avoid harsh midday sun, which creates unflattering shadows. If you’re indoors or in low light, position your subject near windows or use portable LED panels. Reflectors (even white cardboard) can bounce light to fill shadows.
Avoid Overusing Filters and Effects
While filters can enhance mood, overuse leads to artificial-looking footage. Stick to subtle color grading in editing. Let the destination’s natural beauty shine through. A well-lit, properly exposed clip will always look more professional than one drowned in saturation or vignettes.
Composition Techniques That Elevate Your Shots
Great travel videos feel cinematic because of thoughtful framing. Apply these composition rules:
- Rule of Thirds: Position key elements along the gridlines or intersections. Place a person’s eyes on the top third line, or horizon on the lower third.
- Leading Lines: Use roads, fences, or shorelines to guide the viewer’s eye into the scene.
- Foreground Interest: Add depth by including objects in the front—like a flower, doorway, or railing—that frame the background.
- Symmetry and Patterns: Capture reflections in water, tiled floors, or rows of buildings for visually striking shots.
Capture Movement and Transitions
Static shots become repetitive. Use slow pans, tilts, or tracking shots to add dynamism. A smooth pan from a mountain peak down to a valley below tells a story. For transitions between scenes, try match cuts—like a hand closing a book and then opening a map—to maintain flow.
Shoot for the Edit
Think like an editor while filming. Capture B-roll—supplemental footage like hands typing, feet walking, or leaves rustling—to layer over interviews or voiceovers. Shoot multiple takes of the same action from different angles. This gives you flexibility during editing and prevents reliance on a single clip.
Keep Clips Short and Purposeful
Long, unedited takes bore viewers. Aim for 3–7 second clips that serve a specific purpose. A 10-second shot of a waterfall is fine, but break it into two or three angles: wide, medium, close-up. This variety keeps pacing tight and engagement high.
Editing: The Final Touch
Editing transforms raw footage into a story. Use software like Adobe Premiere Pro, Final Cut Pro, or free tools like DaVinci Resolve. Start by organizing clips into folders (e.g., “Arrival,” “Food,” “Sunset”). Trim excess, sync audio, and add subtle transitions.
Color Grading for Mood
Adjust white balance, contrast, and saturation to create a consistent look. A warm tone suits tropical beaches; cooler tones fit mountainscapes. Avoid overcorrecting—subtlety preserves realism.
Sound Design and Music
Layer ambient sounds with a licensed background track. Choose music that matches the pace and emotion of your video. Fade music down during voiceovers or interviews. Use sound effects sparingly—like a camera shutter click or door creak—to enhance realism.
Common Mistakes to Avoid
Even experienced creators make errors. Watch out for:
- Over-filming: You don’t need to record everything. Focus on quality over quantity.
- Poor file management: Label clips clearly and back up footage daily to avoid loss.
- Ignoring permissions: Always ask before filming people, especially in private or culturally sensitive settings.
- Skipping metadata: Add location tags and descriptions to clips for easier searching later.
Essential Gear Comparison
Choosing the right tools depends on your budget and style. Here’s a quick comparison of common setups:
| Setup | Best For | Pros | Cons |
|---|---|---|---|
| Smartphone + Gimbal | Beginners, vloggers | Portable, high-quality video, easy to use | Limited manual controls, smaller sensor |
| Mirrorless Camera + Lens | Enthusiasts, content creators | Superior image quality, interchangeable lenses | Heavier, steeper learning curve |
| Action Camera (e.g., GoPro) | Adventure, underwater | Durable, waterproof, wide-angle | Fixed lens, less low-light performance |
Final Tips for Professional Results
- Always carry extra batteries and memory cards.
- Charge devices overnight before a shoot day.
- Use a lens cloth to remove smudges and water spots.
- Record in landscape mode unless your platform specifically requires vertical.
- Review footage daily to catch issues early.
Conclusion
Shooting travel videos like a professional is about preparation, technique, and storytelling. You don’t need perfection—just purpose. Focus on capturing authentic moments, use natural light and sound wisely, and edit with intention. With consistent practice, your travel videos will not only document your journey but inspire others to explore the world.
FAQ
What’s the most important piece of gear for travel videography?
A stable camera or smartphone with good low-light performance and a reliable gimbal for smooth motion.
How long should a travel video be?
Most engaging travel videos range from 3 to 8 minutes. Keep it concise and focused on a clear theme.
Can I use music in my travel videos?
Yes, but only use royalty-free tracks or music licensed through platforms like Artlist, Epidemic Sound, or YouTube Audio Library.