
Travel Photography Tips for Stunning Vacation Photos
Great travel photography doesn’t require expensive gear or professional training—just smart techniques and a bit of planning. Whether you’re exploring bustling city streets, serene mountain trails, or sun-drenched beaches, these travel photography tips will help you capture vacation photos that truly stand out. From mastering natural light to composing compelling shots, this guide covers essential strategies to elevate your images and preserve your memories with clarity and impact.
Start with the Right Gear (Without Overspending)
You don’t need a $5,000 camera to take stunning vacation photos. Most modern smartphones now feature advanced sensors and computational photography that rival entry-level DSLRs. That said, choosing the right equipment can make a noticeable difference.
If you’re using a smartphone, ensure it has a good main camera (at least 12MP) and access to manual or pro mode. For added versatility, consider a lightweight tripod, a portable lens attachment (like a wide-angle or macro clip-on), and a microfiber cloth to keep your lens clean.
If you’re carrying a camera, a mirrorless model with interchangeable lenses offers the best balance of quality and portability. A 24–70mm f/2.8 lens is ideal for most travel scenarios—great for landscapes, street scenes, and portraits.
Pro tip: Pack a spare battery and extra memory cards. Running out of power or storage mid-trip is a common—and avoidable—disaster.
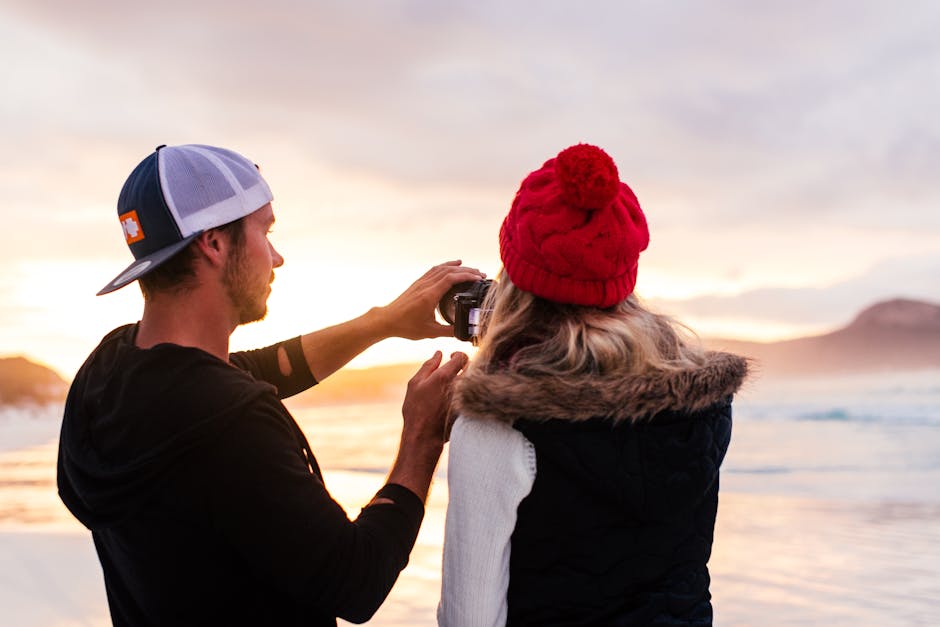
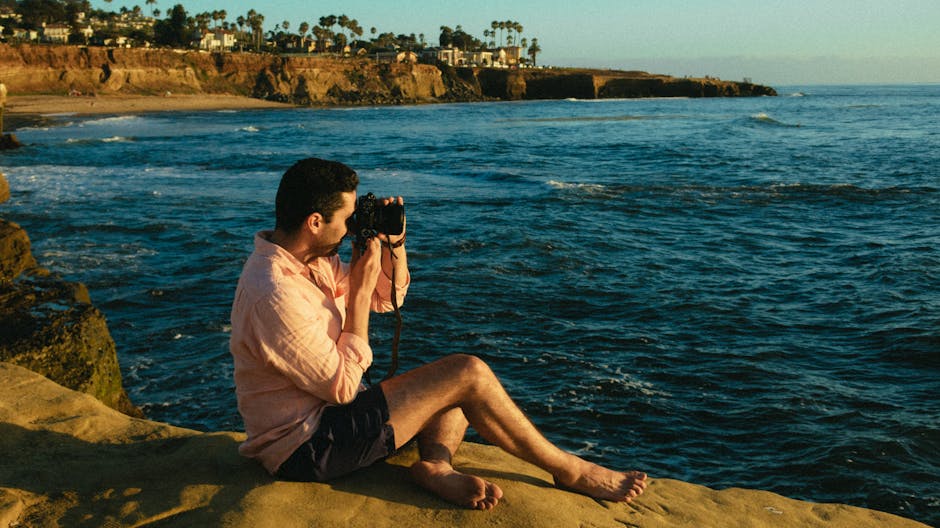
Master Natural Light Like a Pro
Lighting is the foundation of great photography, and natural light is your best friend when traveling. The golden hours—shortly after sunrise and before sunset—offer soft, warm, and directional light that flatters both people and landscapes.
Avoid shooting in the middle of the day when the sun is high. Harsh overhead light creates unflattering shadows, especially under eyes and noses. If you must shoot during this time, look for shade—under trees, awnings, or even your own body—to diffuse the light.
Backlighting can also create dramatic silhouettes or glowing halos around subjects. Position your subject with the sun behind them and expose for their face to avoid a dark silhouette, or embrace the contrast for artistic effect.
Use the Rule of Thirds for Balanced Composition
The rule of thirds is one of the simplest yet most effective composition techniques. Imagine your frame divided into nine equal sections by two horizontal and two vertical lines. Place key elements—like horizons, eyes, or architectural features—along these lines or at their intersections.
Most cameras and smartphones have a grid overlay you can enable in settings. Use it to guide your framing. For example, when photographing a mountain range, position the horizon on the lower third line to emphasize the sky, or on the upper third to highlight the landscape.
This technique prevents centered, static compositions and adds visual interest to your travel photos.
Capture Authentic Moments, Not Just Landmarks
Too many vacation albums are filled with the same postcard-style shots: the Eiffel Tower, the Colosseum, the Sydney Opera House. While these landmarks are iconic, the most memorable photos often show people, culture, and daily life.
Look for candid moments—a vendor arranging fruit at a market, children playing in a fountain, an elderly couple sharing coffee at a sidewalk café. These images tell a richer story and evoke emotion.
When photographing people, especially in cultures where privacy is valued, always ask for permission. A smile and a simple gesture can go a long way. If someone declines, respect their choice.
Street photography can be powerful, but be mindful of local laws and customs. In some countries, photographing strangers without consent is illegal or frowned upon.
Get Closer and Fill the Frame
One of the most common mistakes in travel photography is standing too far from the subject. Zooming in digitally degrades image quality. Instead, physically move closer to your subject.
Filling the frame eliminates distracting backgrounds and draws attention to details—textures of ancient stone, patterns in traditional clothing, or the expression on a child’s face.
This technique works especially well for food photography. A close-up of a steaming bowl of ramen or a colorful dessert can be more evocative than a wide shot of a restaurant.
Use Leading Lines to Guide the Viewer’s Eye
Leading lines are natural or architectural elements that draw the viewer’s gaze into the image. Roads, rivers, staircases, fences, and rows of trees all make excellent leading lines.
Position yourself so these lines start at the edge of the frame and converge toward your main subject. This creates depth and dimension, making flat scenes feel more immersive.
For example, a winding path through a vineyard in Tuscany can lead the eye to a distant farmhouse, while a row of lanterns on a Bangkok street can guide attention to a glowing temple in the background.
Experiment with Different Perspectives
Most people shoot from eye level—but that’s also how everyone else sees the world. Break the routine by changing your angle.
Shoot from a low angle to make buildings or trees appear towering and majestic. Try a high vantage point—from a balcony, hill, or staircase—to capture sweeping cityscapes or crowded markets from above.
Even simple changes, like kneeling down to photograph a flower at ground level or tilting your camera slightly for a Dutch angle, can add drama and originality.
Edit with Purpose, Not Perfection
Editing can enhance your photos, but over-processing can ruin them. The goal is to make images look natural and true to life—not like a filter-heavy Instagram post.
Start with basic adjustments: exposure, contrast, white balance, and sharpening. Use cropping to improve composition. If you’re shooting in RAW (recommended for cameras), you’ll have more flexibility in post-processing.
Free or affordable apps like Snapseed, Lightroom Mobile, or VSCO offer powerful editing tools. Avoid heavy saturation or excessive vignetting—subtlety is key.
Remember: editing should enhance, not replace, good photography.
Protect Your Photos from the Start
Nothing is more frustrating than losing a memory because of a corrupted memory card or a stolen phone. Protect your work with these simple steps:
- Back up photos daily to cloud storage (Google Photos, iCloud, Dropbox) or an external drive.
- Use a reliable memory card with a good write speed and always format it before a trip.
- Keep your camera or phone secure—use a crossbody strap and avoid leaving gear unattended.
- Enable remote tracking (Find My iPhone, Find My Device) in case of loss or theft.
Compare: Smartphone vs. Camera for Travel Photography
| Feature | Smartphone | Camera (Mirrorless/DSLR) |
|---|---|---|
| Portability | Excellent – fits in pocket | Good – requires bag or strap |
| Image Quality | Very good (modern models) | Excellent (larger sensor, better optics) |
| Zoom Capability | Digital zoom (loss of quality) | Optical zoom (retains detail) |
| Low-Light Performance | Decent (with night mode) | Superior (better noise control) |
| Ease of Use | Very easy – intuitive interface | Moderate – requires some learning |
Final Thoughts on Travel Photography
The best travel photography captures not just places, but feelings—the warmth of a sunset, the energy of a festival, the quiet beauty of a morning mist. Use these travel photography tips to go beyond snapshots and create images that resonate long after your trip ends.
Focus on storytelling, embrace imperfections, and shoot with intention. Your vacation photos should reflect your unique experience, not just a checklist of sights.
FAQ
What’s the best time of day for travel photography?
The golden hours—shortly after sunrise and before sunset—provide the most flattering natural light with warm tones and soft shadows.
Can I take great vacation photos with just my smartphone?
Absolutely. Modern smartphones produce high-quality images, especially in good lighting. Use natural light, steady hands, and simple editing to enhance your shots.
How do I avoid blurry photos when shooting in low light?
Use a tripod or stabilize your phone/camera against a solid surface. Increase ISO slightly, but avoid going too high to prevent noise. If using a camera, open the aperture (lower f-number) or use a lens with image stabilization.